Footer Settings
If you want to enable simple small footer like WHMCS default themes. It will remove Footer Slider, Footer Menus. You can still use Payment Logos, Custom HTML code and Sub Menu Items in copyright section. There are 3 options available for simple footer. You can enable this for entire website OR just for client area OR only for logged in clients only.


If you wish can disable the footer logo list section, which is enabled by default. You can also disable the shadow effect of the slider section.


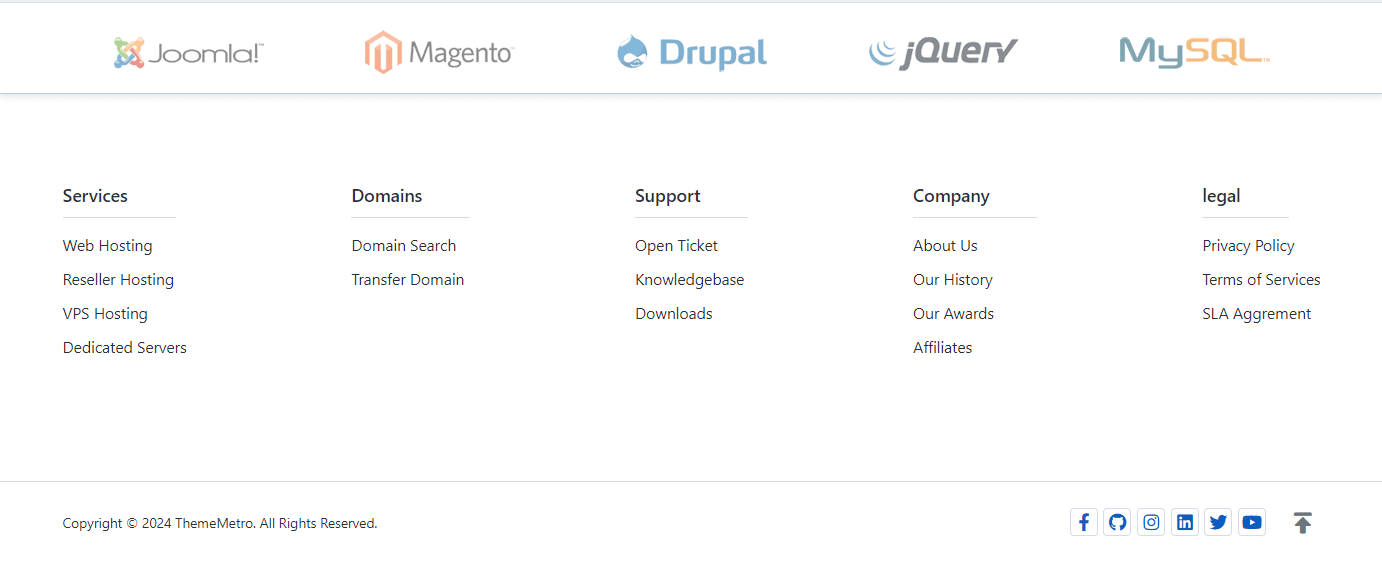
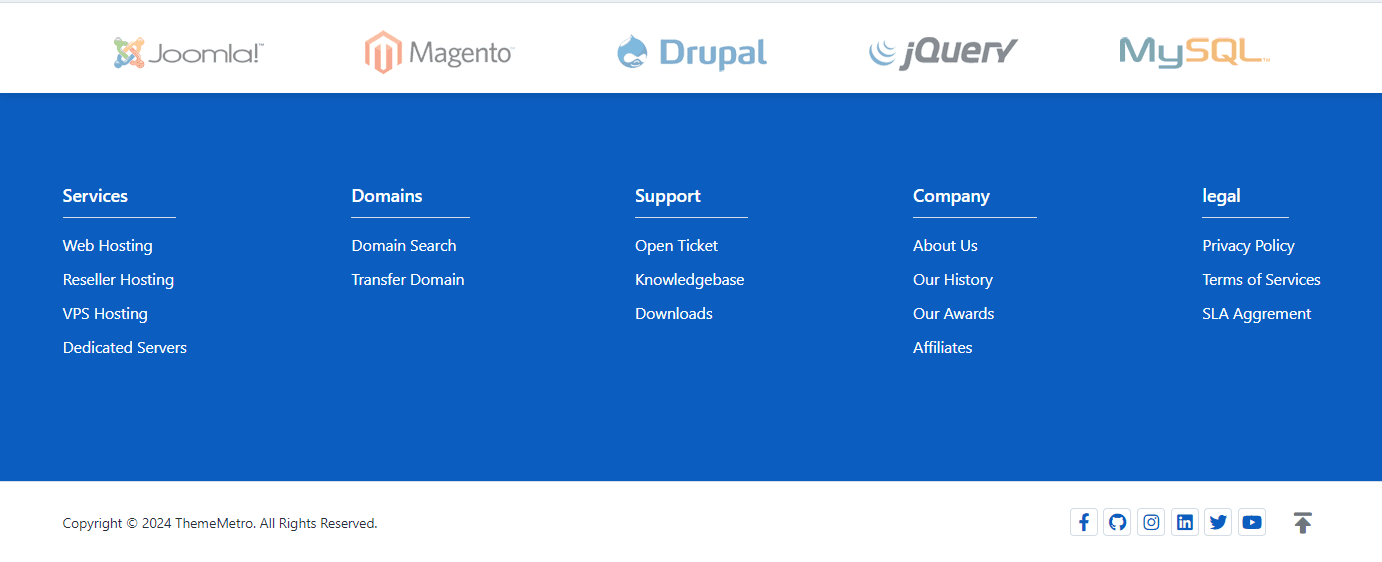
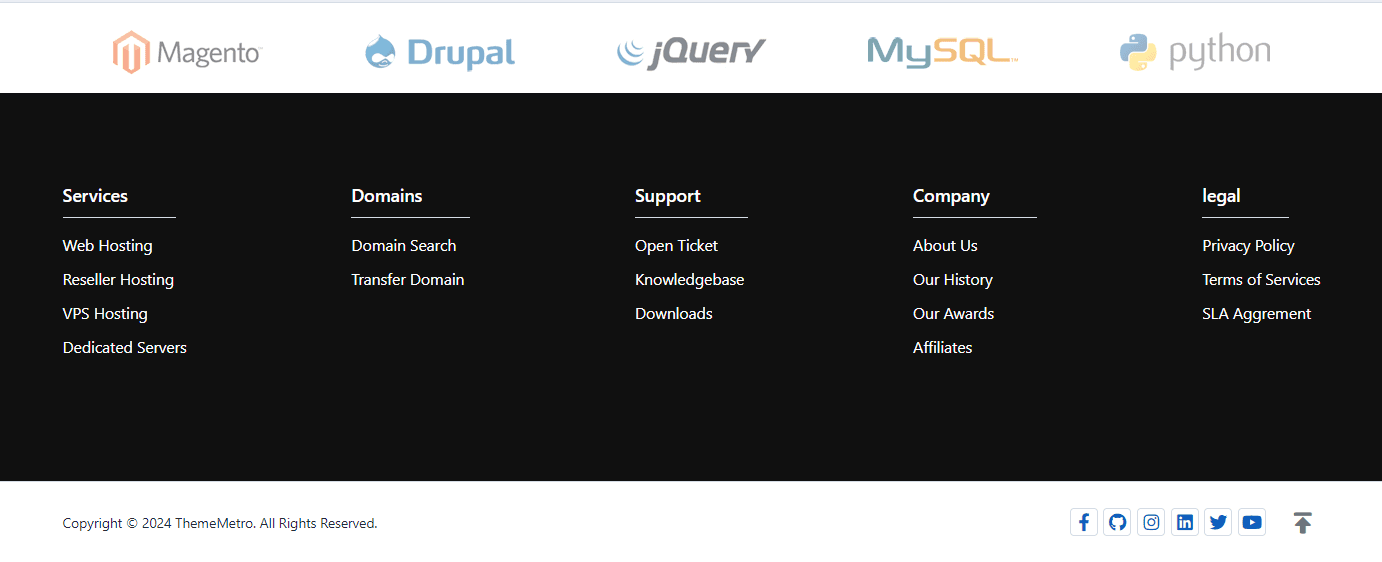
In the Footer Colors section, three types of background colors are available for the footer, allowing you to choose according to your preference.

Default
Primary
Dark
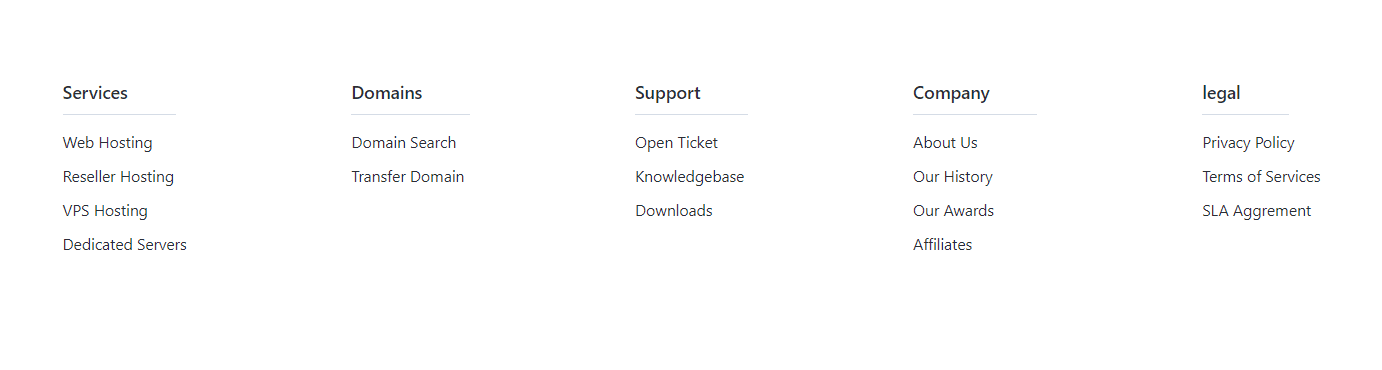
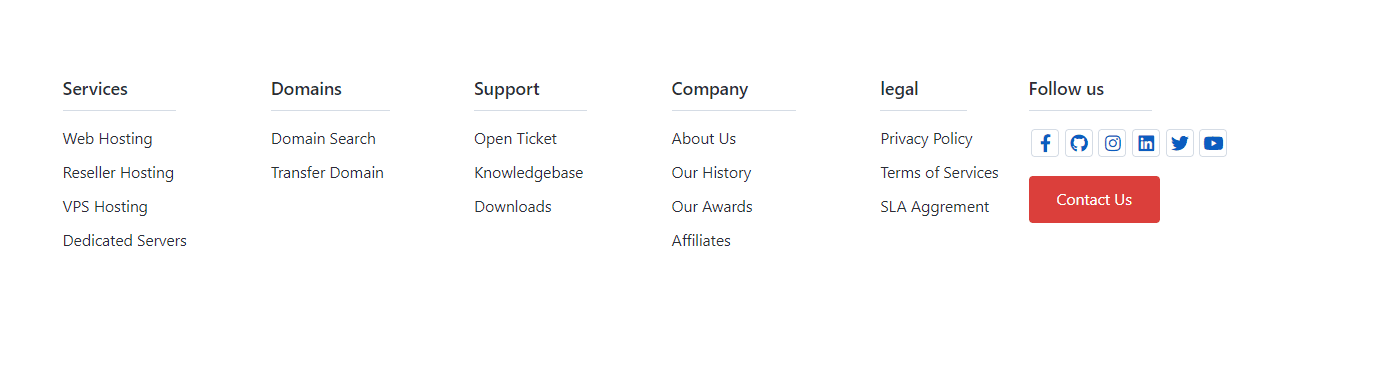
In the Footer Column options, two types of layouts are available: 'Single' and 'Two' columns, allowing you to choose according to your preference.

Preview - Single Column
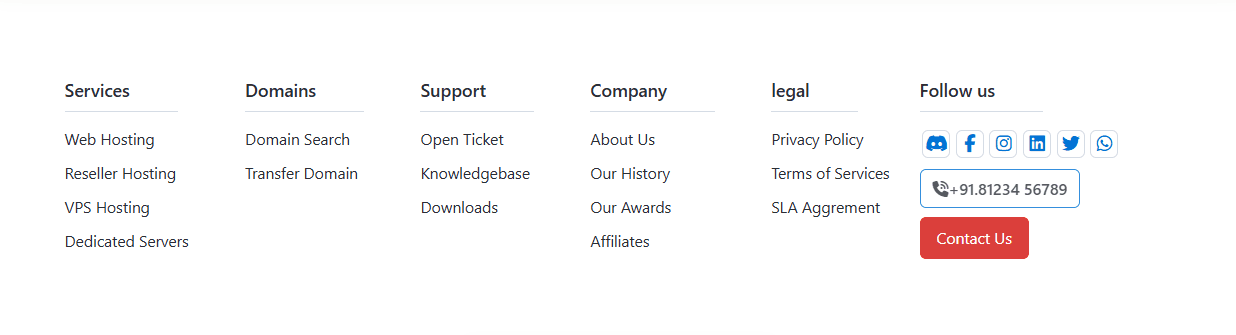
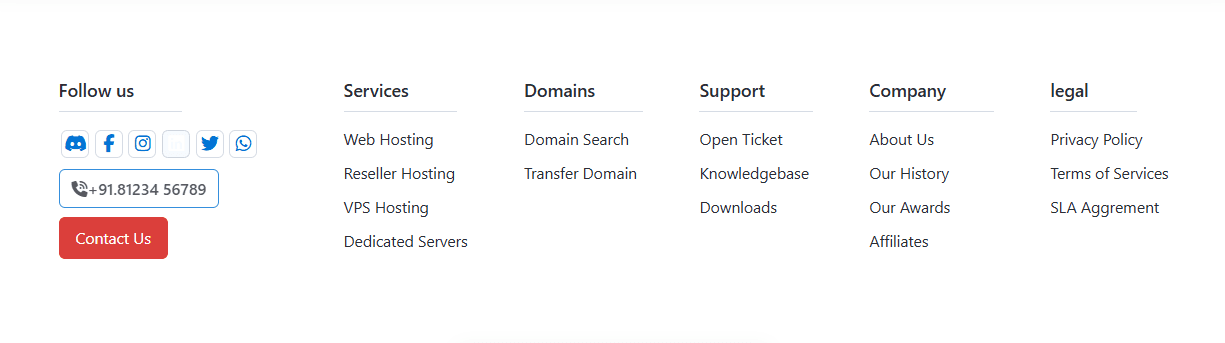
Preview - Two Column
When you select the 'Two' column option, you will see some advanced configuration options, as shown below:
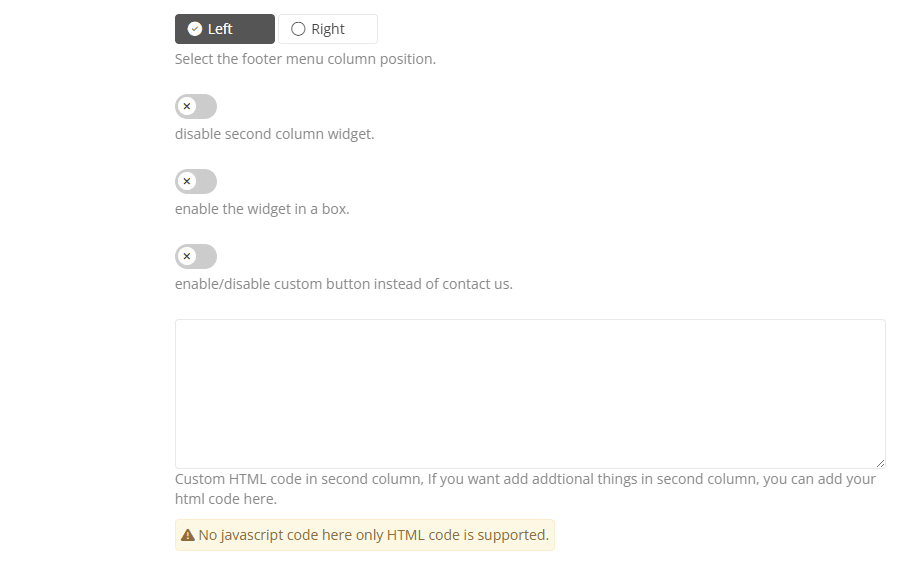
Using this option, you can set the position of the columns.

Left
Right
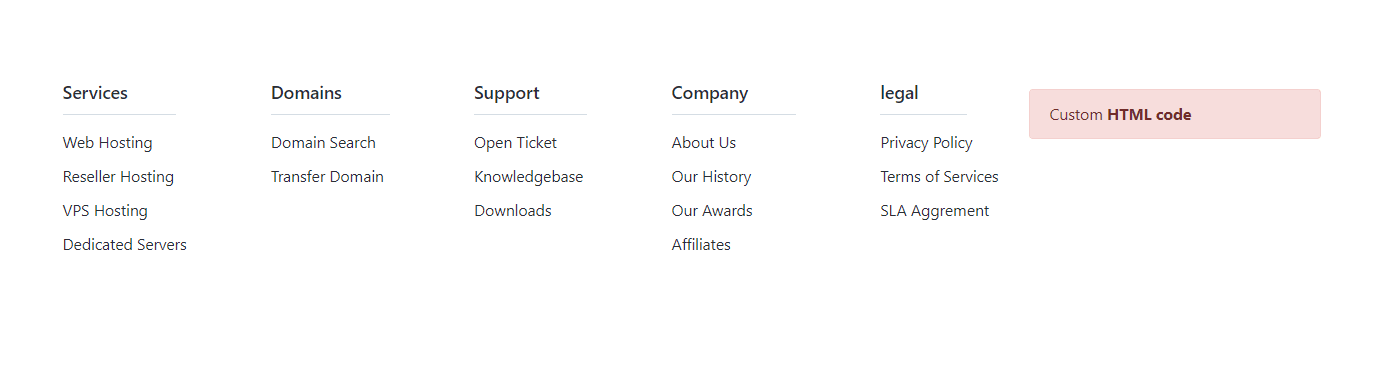
If you want to add custom HTML code instead of the pre-designed widget, enable this option.

Enable this option to wrap the widget in a border.

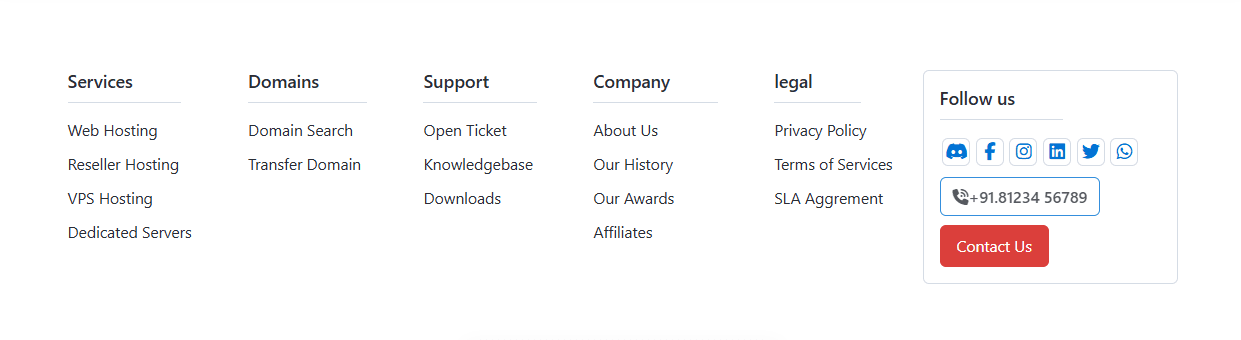
You can manage Social icons in footer from WHMCS General Settings → Social.
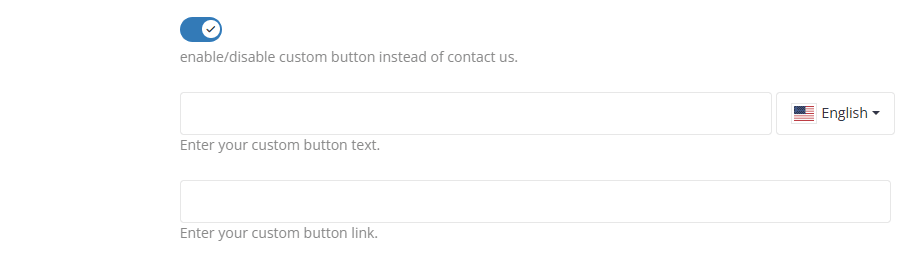
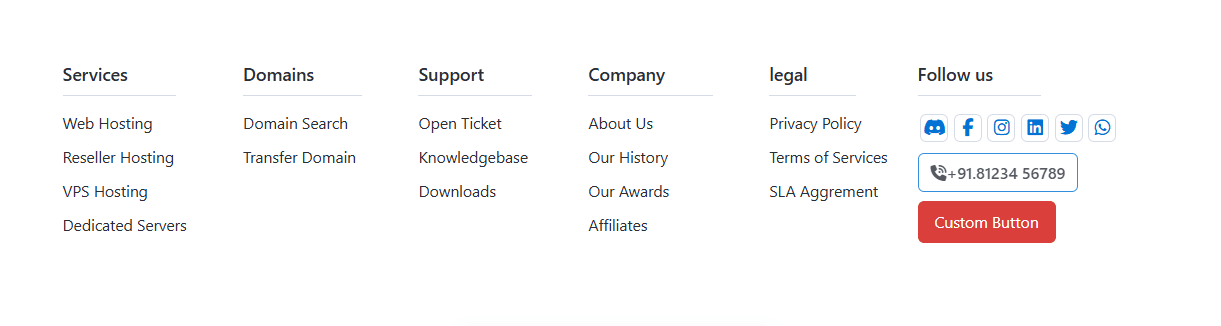
Using this option, you can change the default 'Contact Us' button to any custom button in the widget.
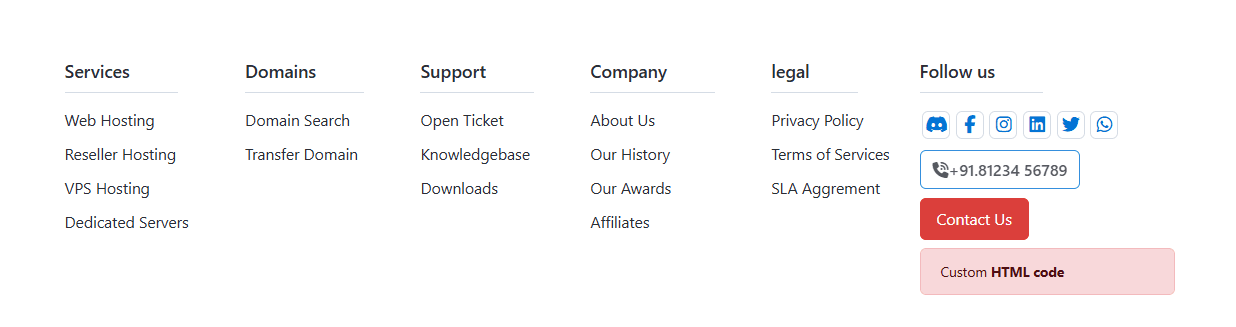
If you want to add additional elements in the second column, you can add your HTML code in the text area. You can use Bootstrap 4.x CSS classes.

In Footer Configuration HTML Field you can add custom html code for display in second column.
Enable this option if you want to display payment option icons in the footer. You can also use custom HTML code by adding it in the textarea input field if you prefer not to use the default logos.
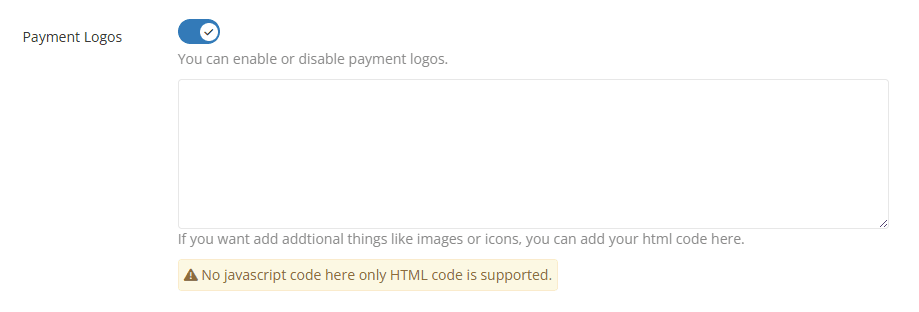

If you prefer not to use the default logos, you can use the example HTML code below for logos by using Font Awesome icons.
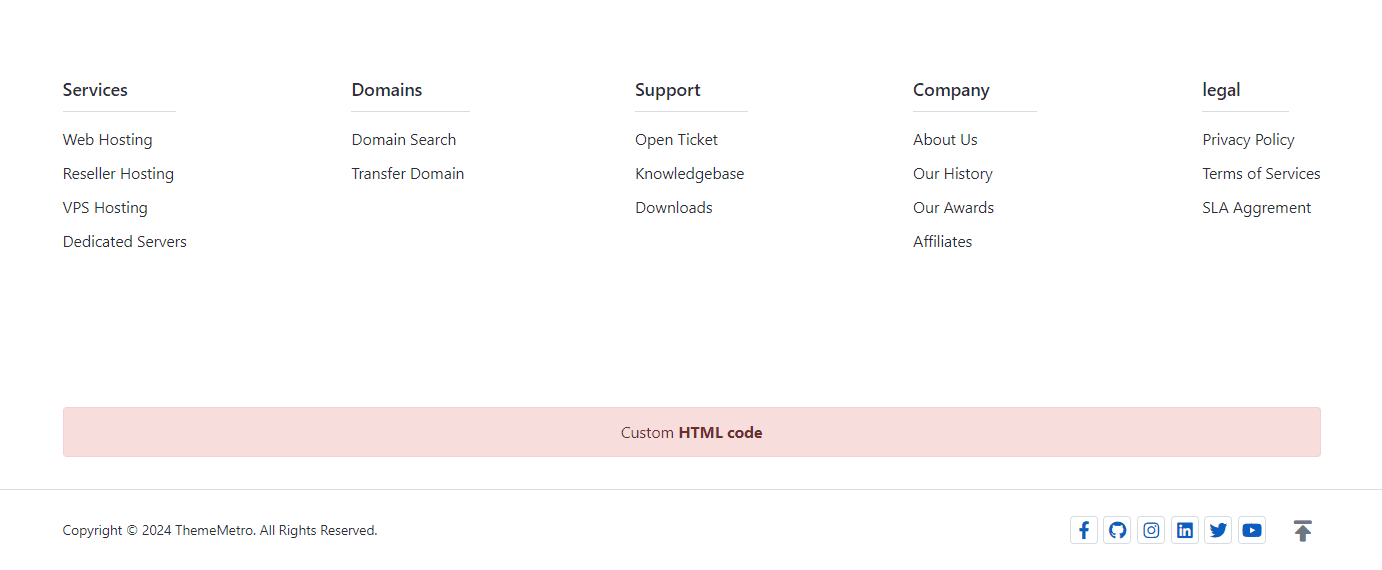
If you want to add more custom HTML code in the footer, either 'Before' or 'After' the Copyright section, use this text area input field.
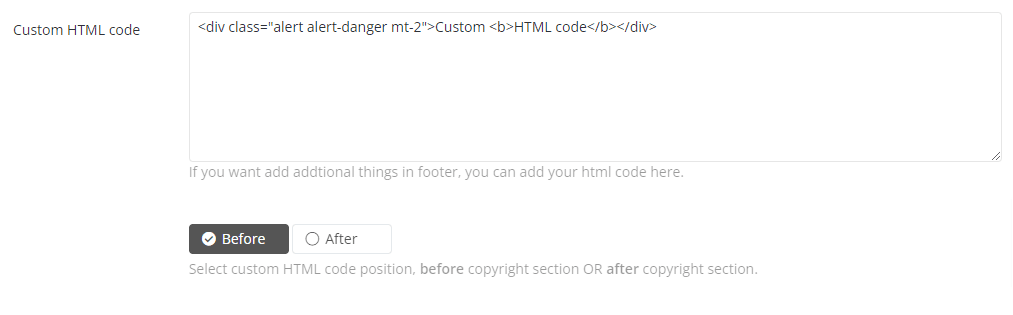
Before
After
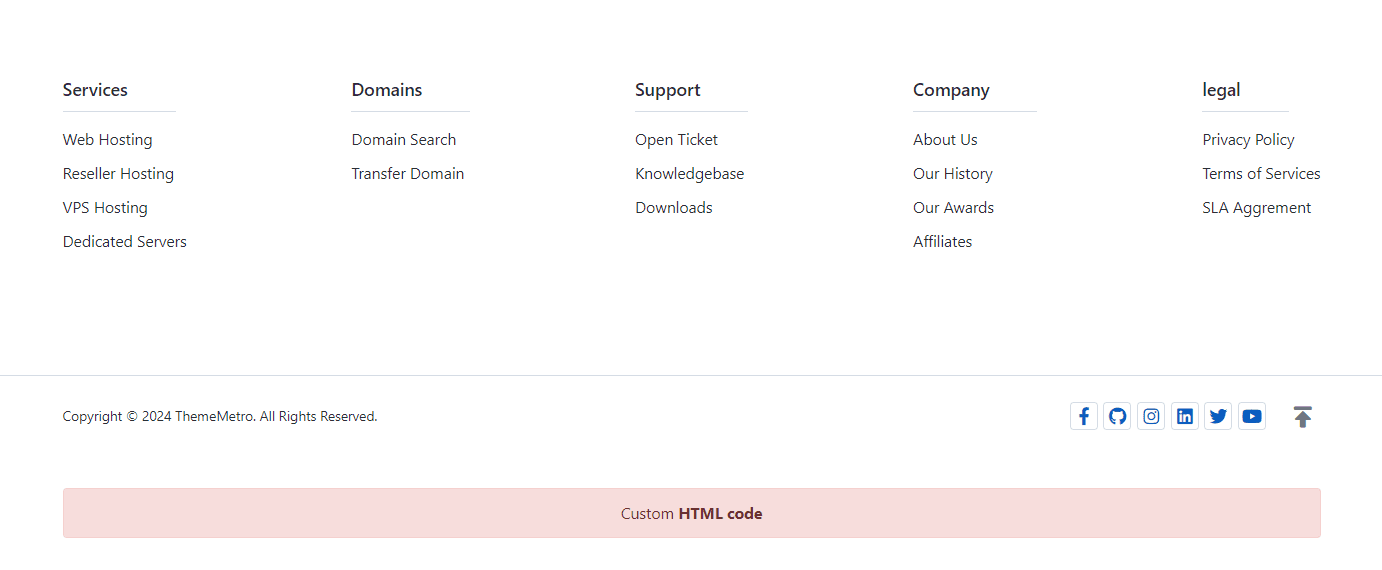
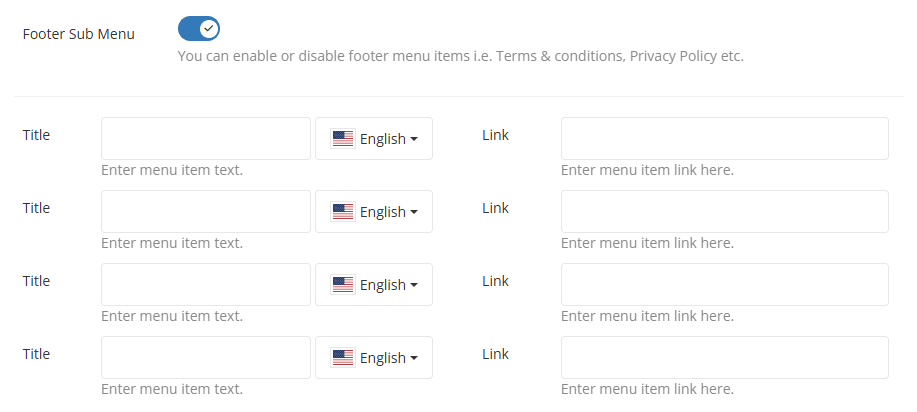
When you enable this option, fields to add sub-menu items (e.g., Terms of Conditions, Privacy Policy, etc.) will appear. You can add up to four items, which will appear in the footer copyright section.

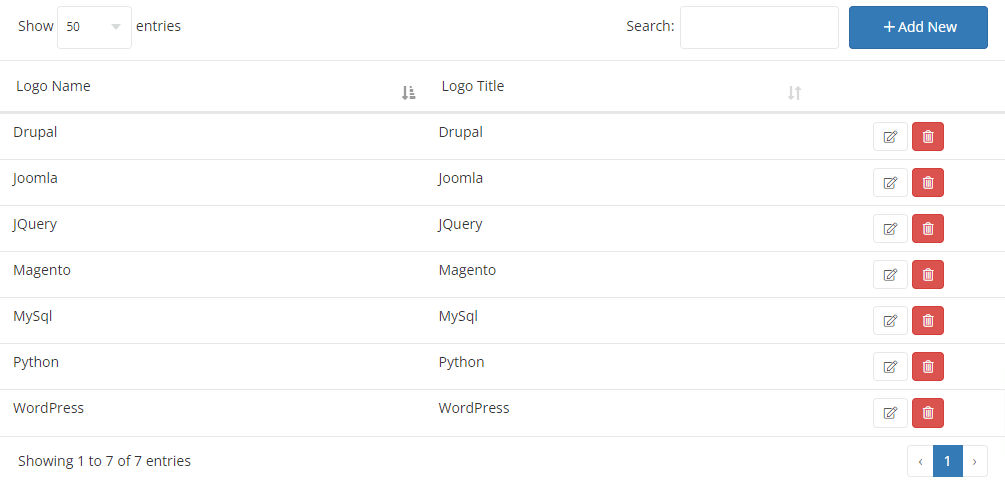
By clicking the 'Add New' button, you can add more logo images. You can also edit or remove any existing images by using the icons from the list.
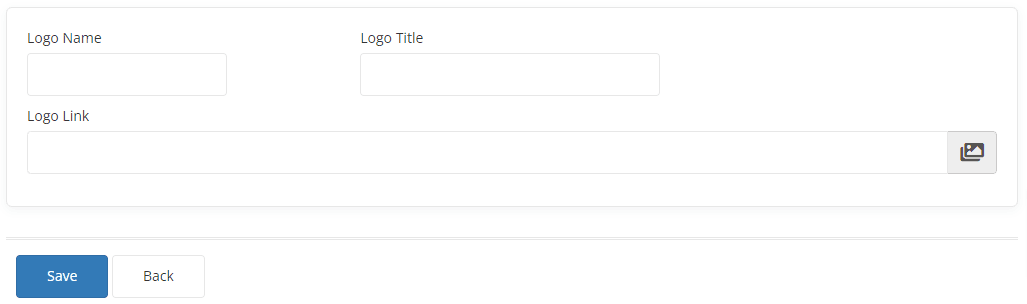
- Logo Name: Use the name of the image to identify the file in the logos list.
- Logo Title: This will be used as the alt attribute for the image.
- Logo Link: You can add a direct link to a CDN image or select an image from the Media Manager by clicking the Image icon in the input field.